Add specialisation
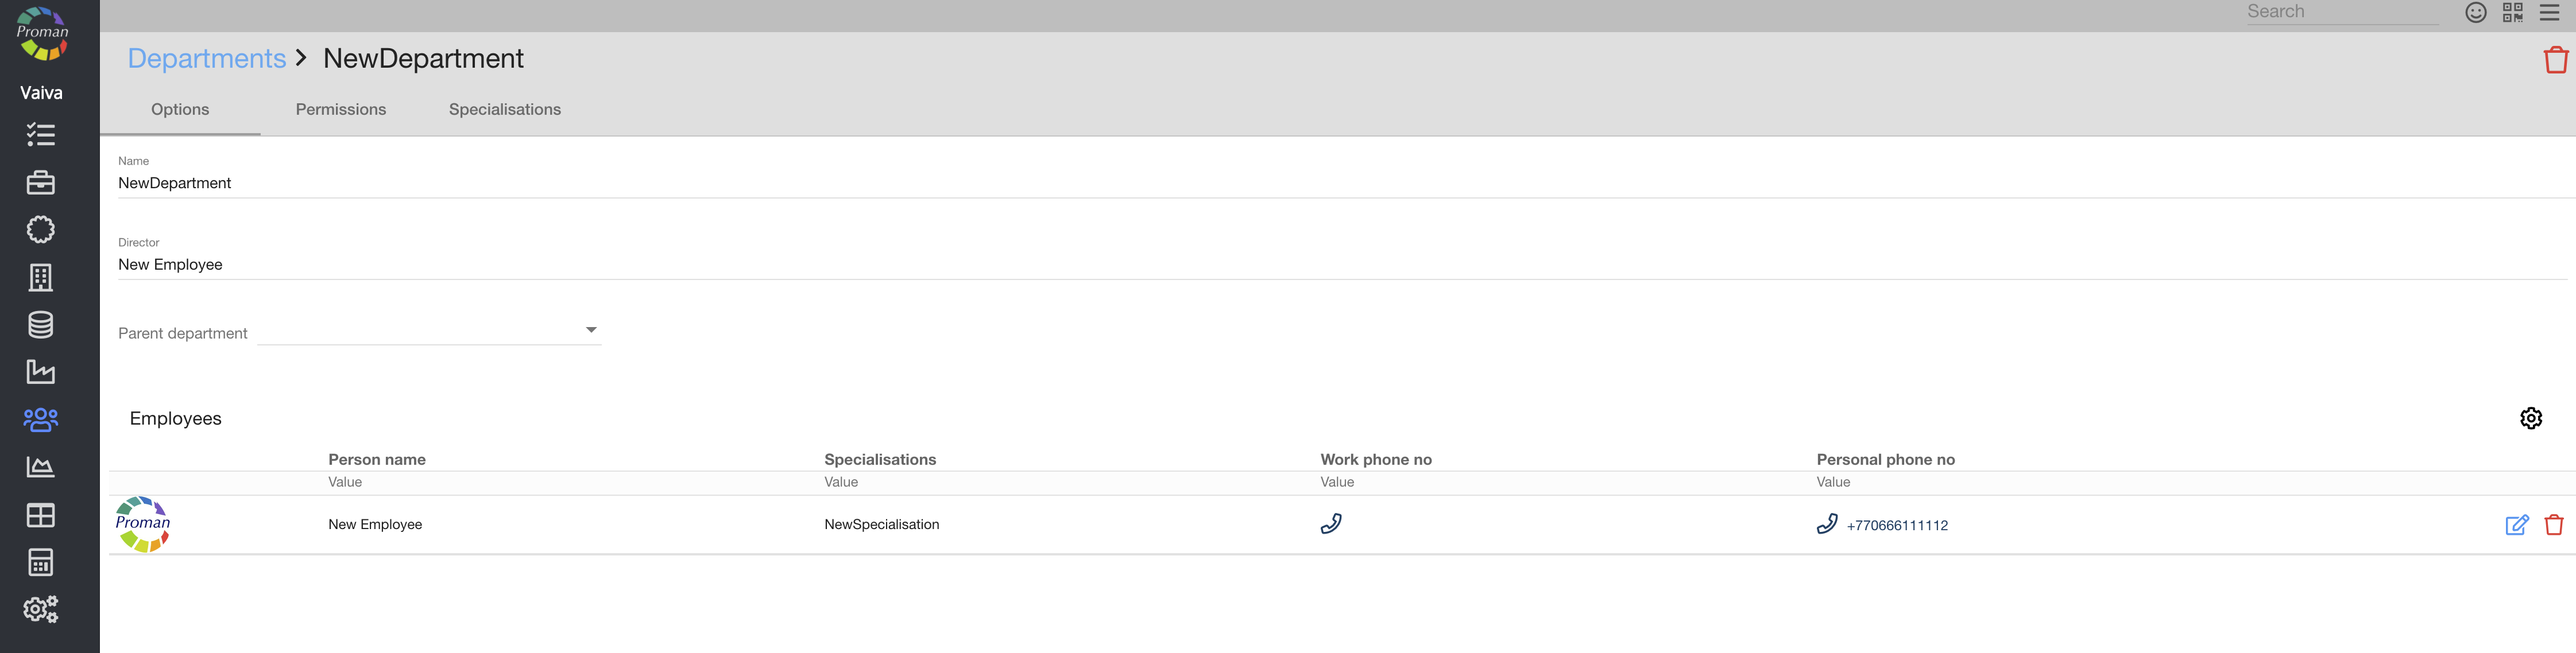
Here you can see the information about your department, go to employee Information and delete Employees
| How to see Employees in Department Options? |
Go to:
1. Go to 
2. Then-
3. and
Now you can see Specializations list

4. Click on
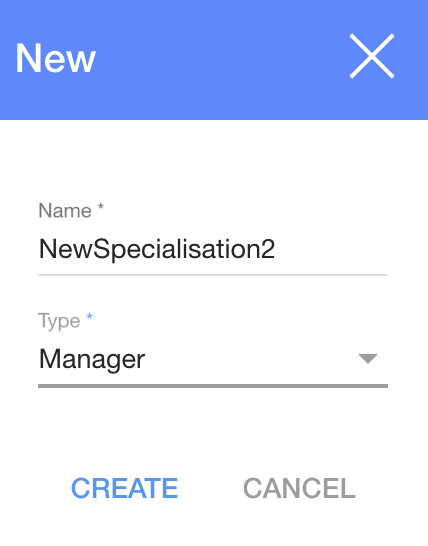
5. In the dialog table:
5.1. Enter specialization's name;
5.2. An employee type:
- Director;
- Manager;
- Technologist;
- Administrator;
- Technical operator;
- Employee;
6. And click
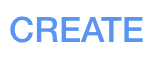
Now you can see the employee list in your New specialization
Here you can see, add (


| Specialisation type | What does it mean? |
| Director | If an employee doesn't have a permission "Employee Master", but is the director of a department, they can see information about all employees of that department |
| Manager | Can be added to Sales projects, Sales events, can be assigned to Customer or Agent supervisors, as a contact person or task manager to Technology Development projects or Orders, also Generate QR codes |
| Technologist | Can be assigned to Technology development projects, as a contact person or a task manager |
| Administrator | Can log in to Health module as an admin |
| Technical operator | Can log in to Health module as a doctor |
| Employee | Am employee doesn't have any special roles |
| Maintainer | Can be added to maintenance operations |
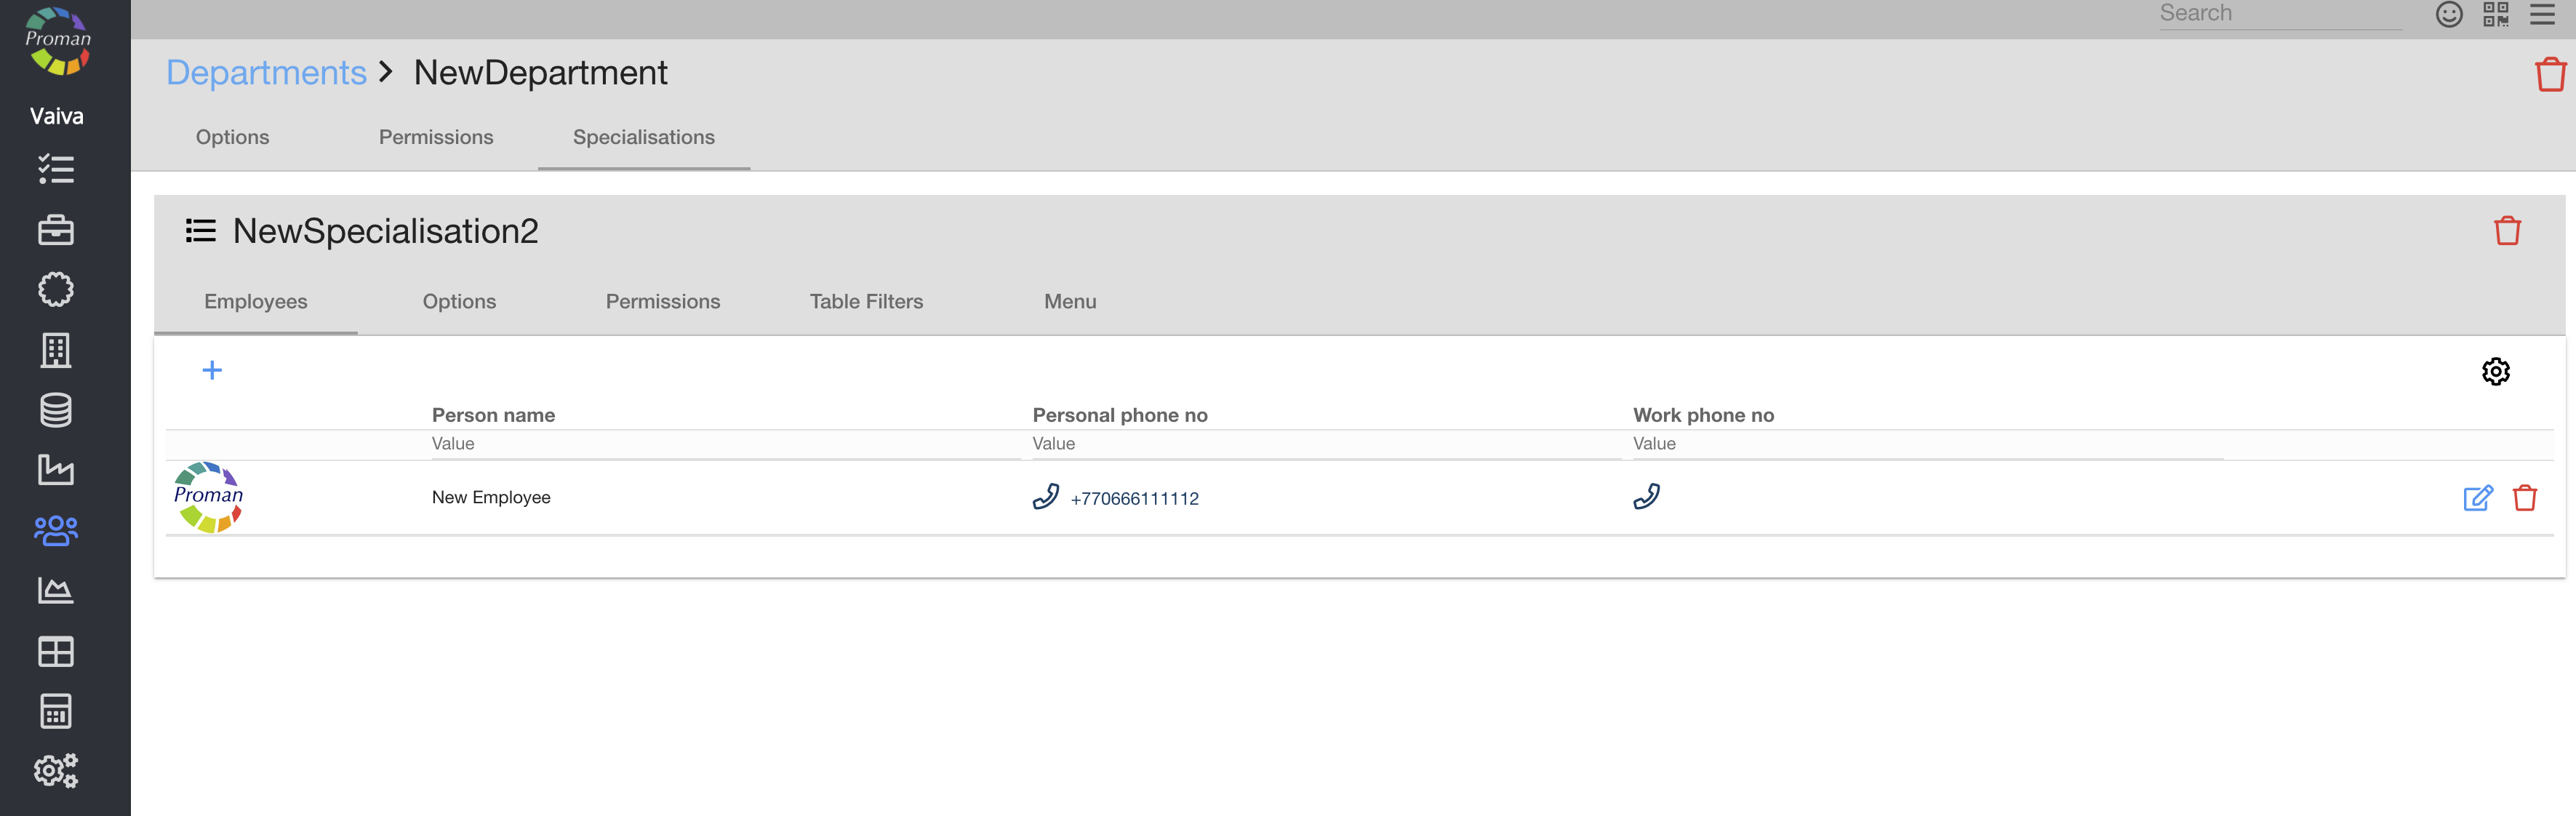
| Options |
Here you can see and change the name, Employee Type, Department, Job description, set up to show in customer contacts (

| Permissions |

Here you can see, add (

| Table filter |
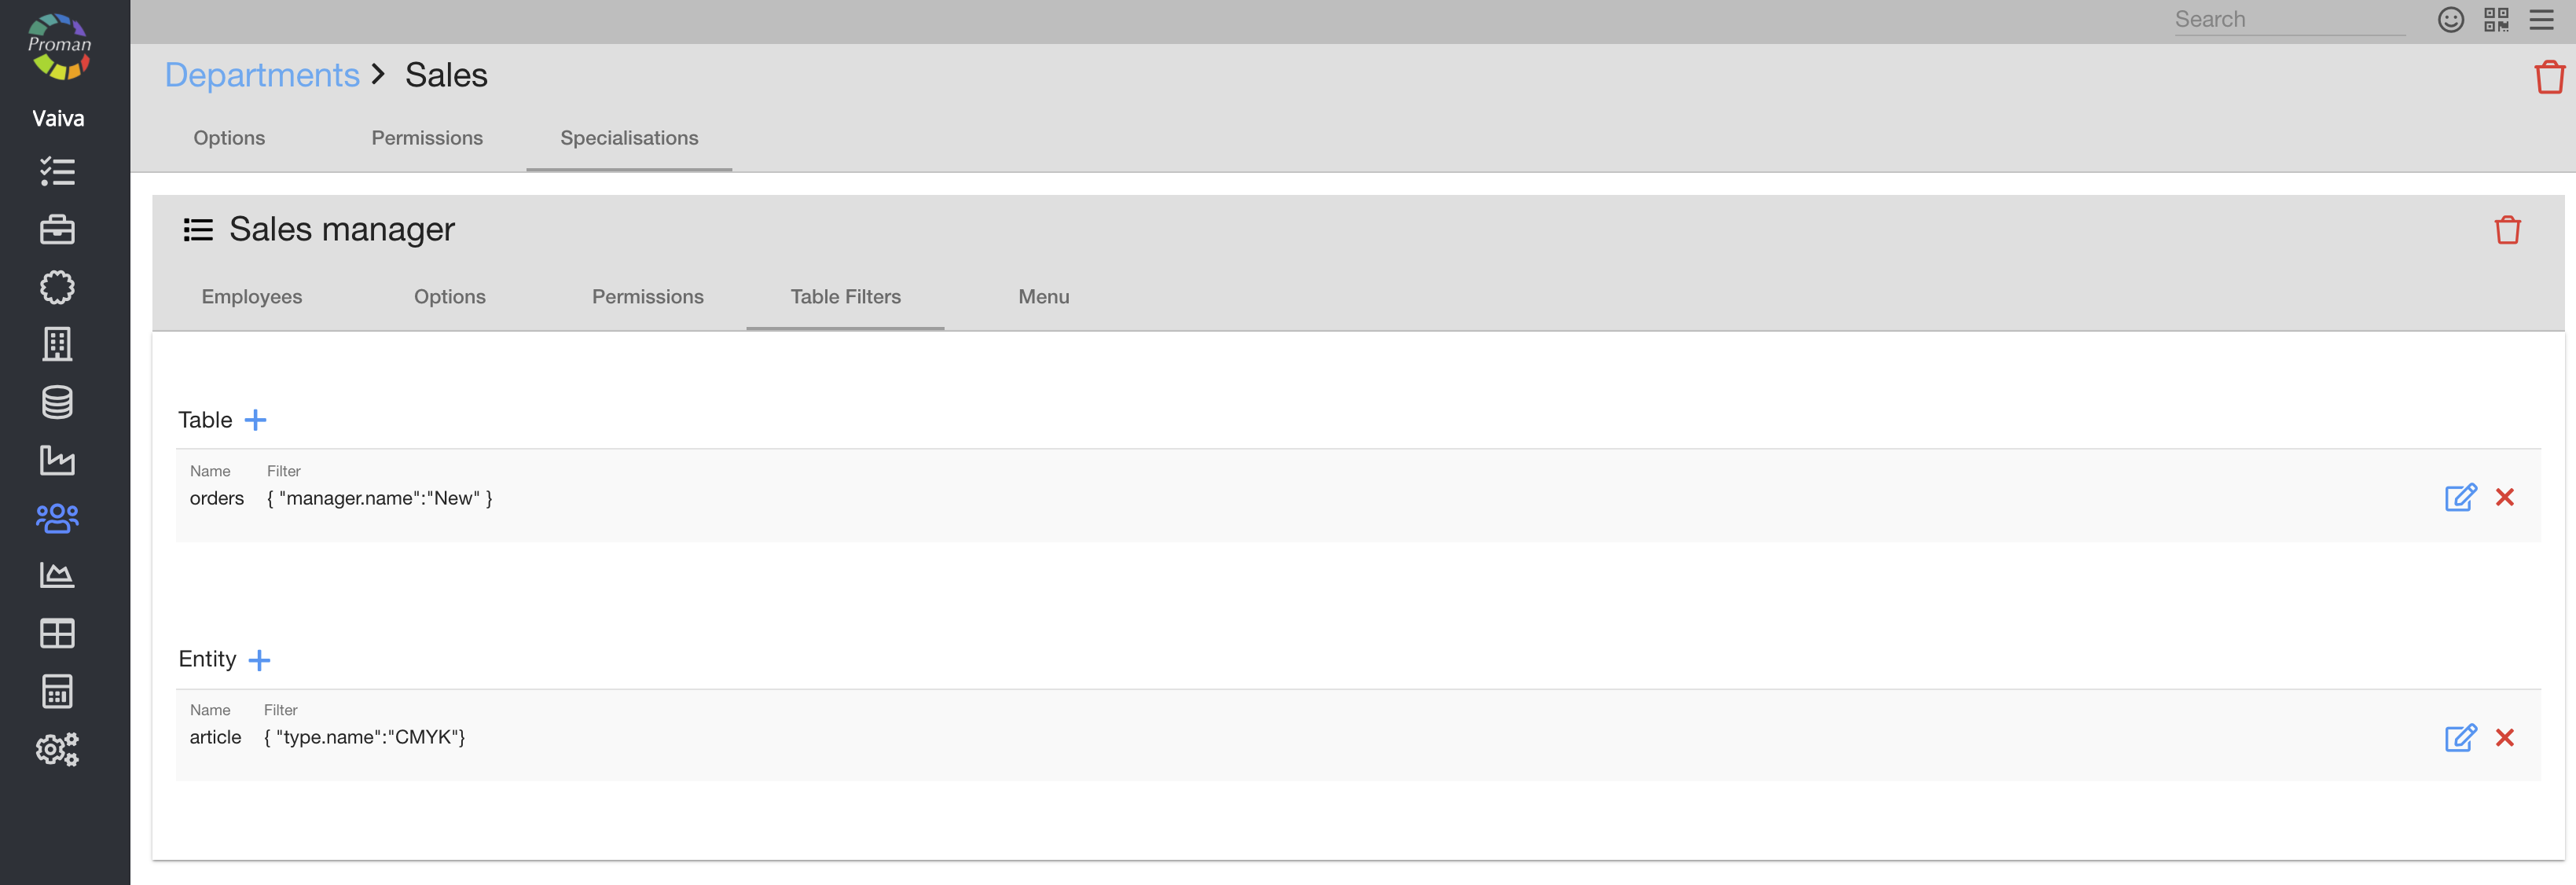
You can set a filter for a specialization (what employee can see in tables (
How to use Table filters?
1. Click
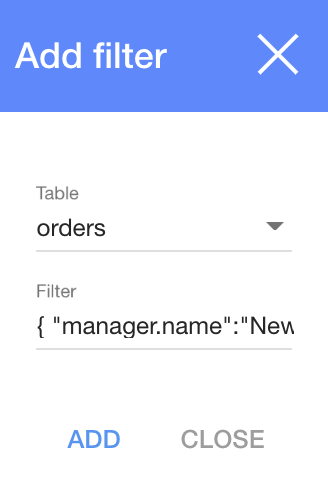
2. Choose a table from the list (if you can't see any tables, you should go to a particular table and activate it (when you come back, you should be able to see it in list of Tables))
3. Write the filter you want
4. Click

The structure of a filter
{ "manager.name":"New" }
| Sign | What does it indicate? |
| {} | These are brackets within which you need to write your code |
| "" | These commas are what you need to write values within |
| : | A colon is a sign between values |
| manager.name | It is a row name of a table |
| New | It is value of the row name |
Row names of an orders table
| Row name | Filter value |
| Order number | number |
| Order name | name |
| Customer | customer.alias |
| Created at | createdAt (>=2021-02-21T22:00:00Z) |
| Manager | manager.name |
| Shipment | shipments.date (>=2021-02-21T22:00:00Z) |
| Quantity | quantity |
| Type | type.name |
| Final price | customerPrice.amount |
| Order status | status |
Row names of a production table
| Row name | Filter value |
| Production name | name |
| Article | article.altName |
| Manager | order.manager.name |
Row names of a shipment table
| Row name | Filter value |
| Shipment name | name |
| Customer number | order.customerNumber |
| Order name | order.name |
| Manager | order.manager.name |
| Customer | order.customer.name |
Row names of an order products table
| Row name | Filter value |
| Name | product.name |
| Customer | order.customer.name |
| Order name | order.name |
| Manager | order.manager.name |
| Order type | order.type.name |
Row names of a stored products table
| Row name | Filter value |
| Name | name |
| Code | article.altName |
| Article | article.name |
| Type | article.type.name |
| Orders | orderProducts.order.name |
| Customer | orderProducts.order.customer.name |
| Store location | storeLocation |
| Store name | storeName |
Row names of a operation Table
| Row name | Filter value |
| Operation | articleOperation.operation.id |
| Article | articleOperation.article.name |
| Categories | articleOperation.article.categories.name |
| Order name | production.order.name |
| Customer | production.order.customer.name |
| Production | production.name |
| Menu |
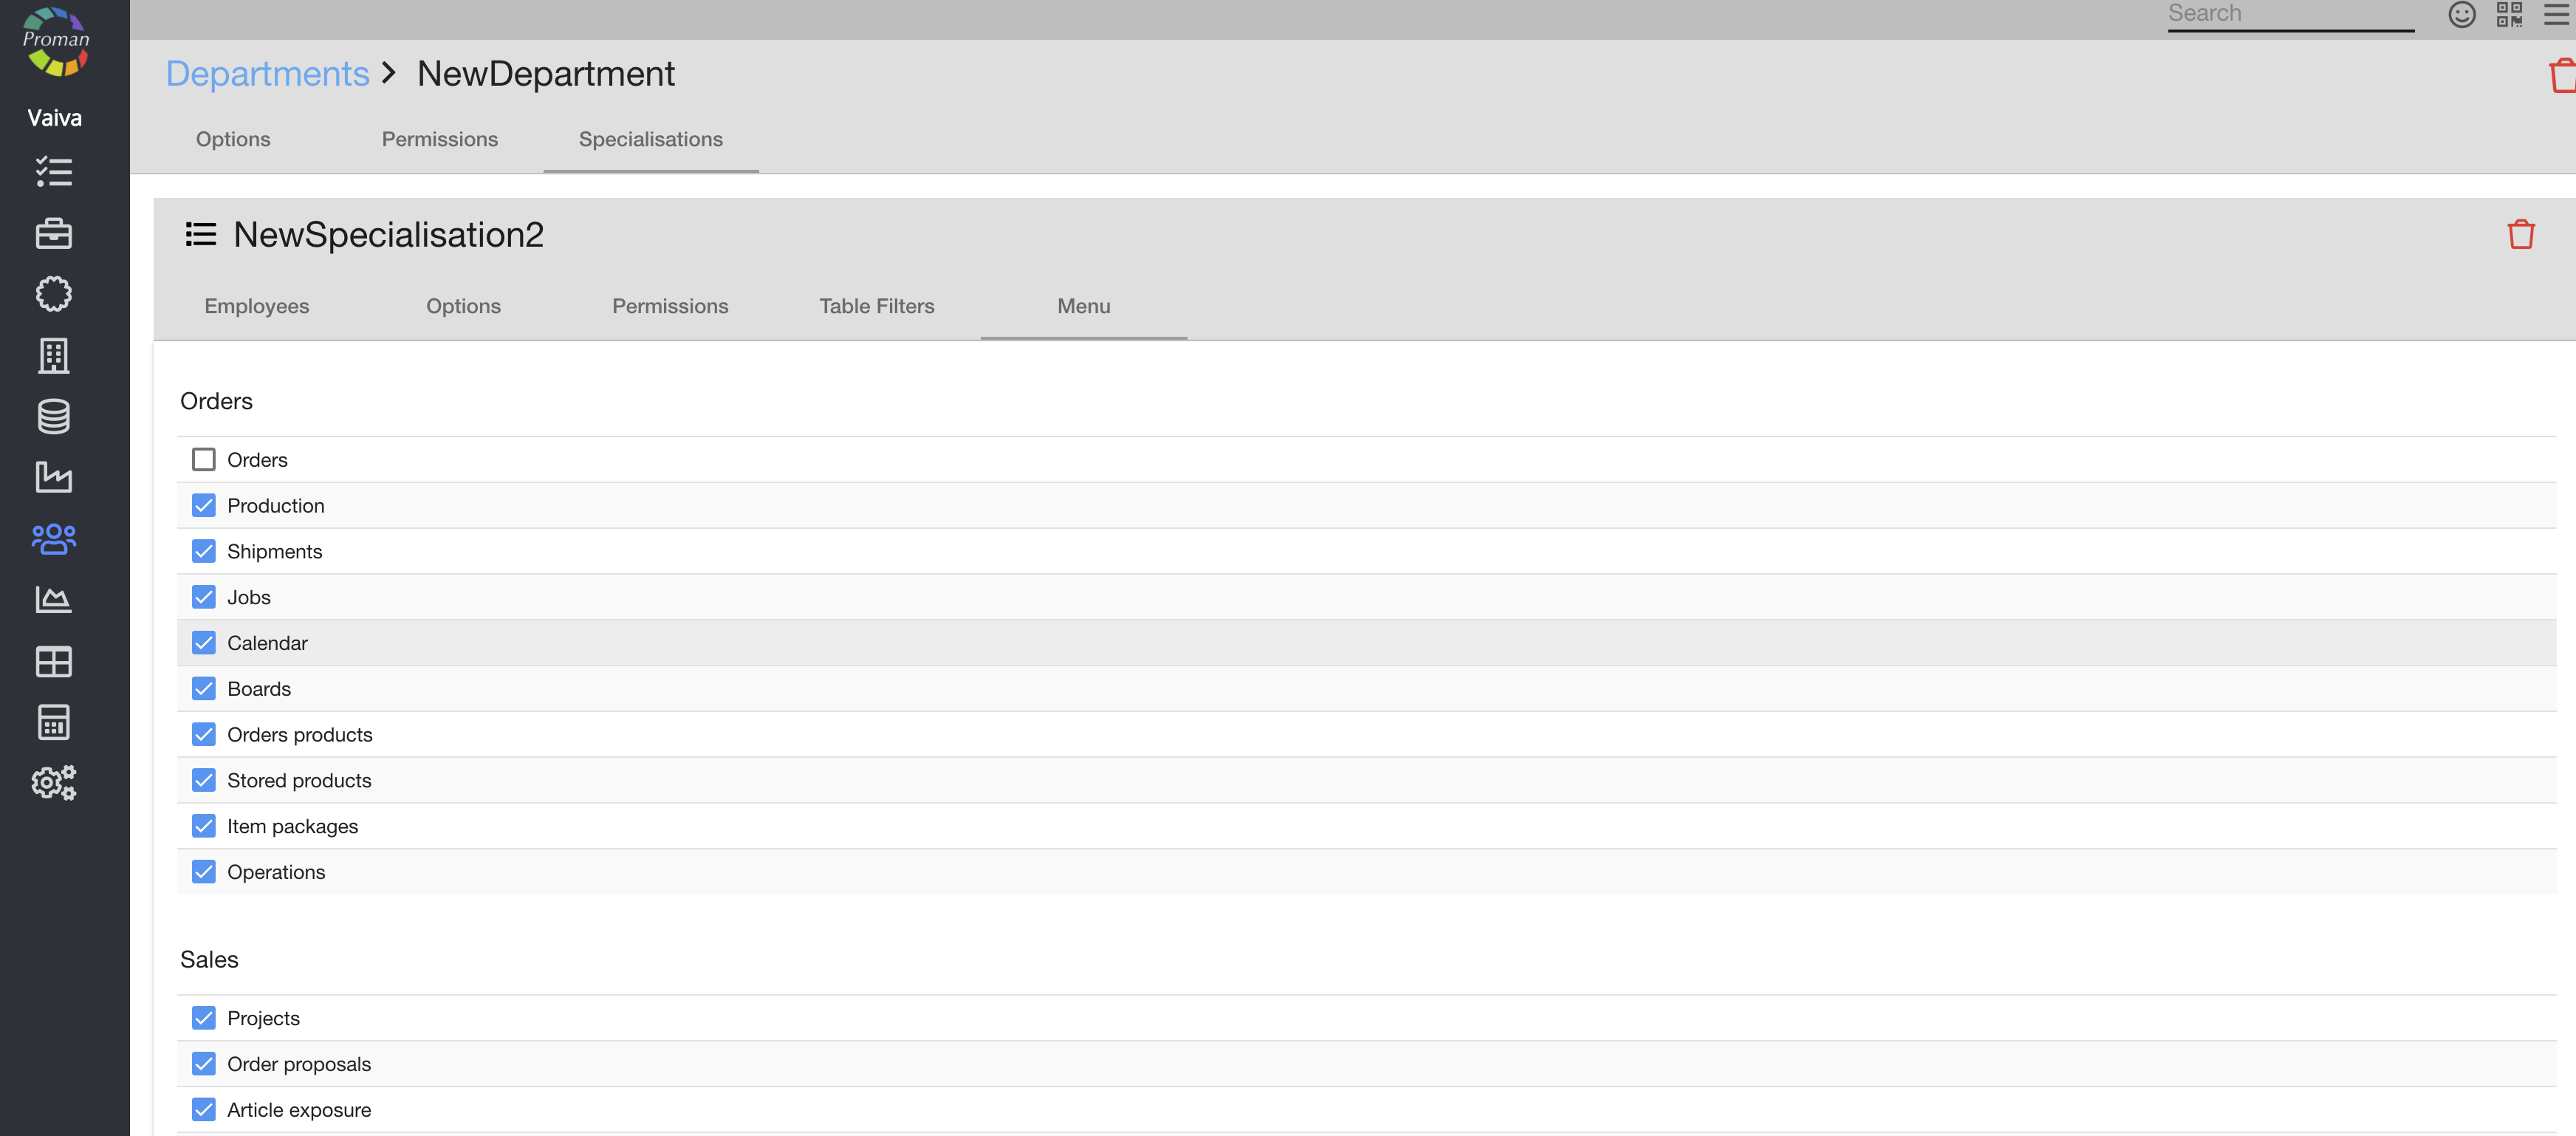
Here you could see, add (